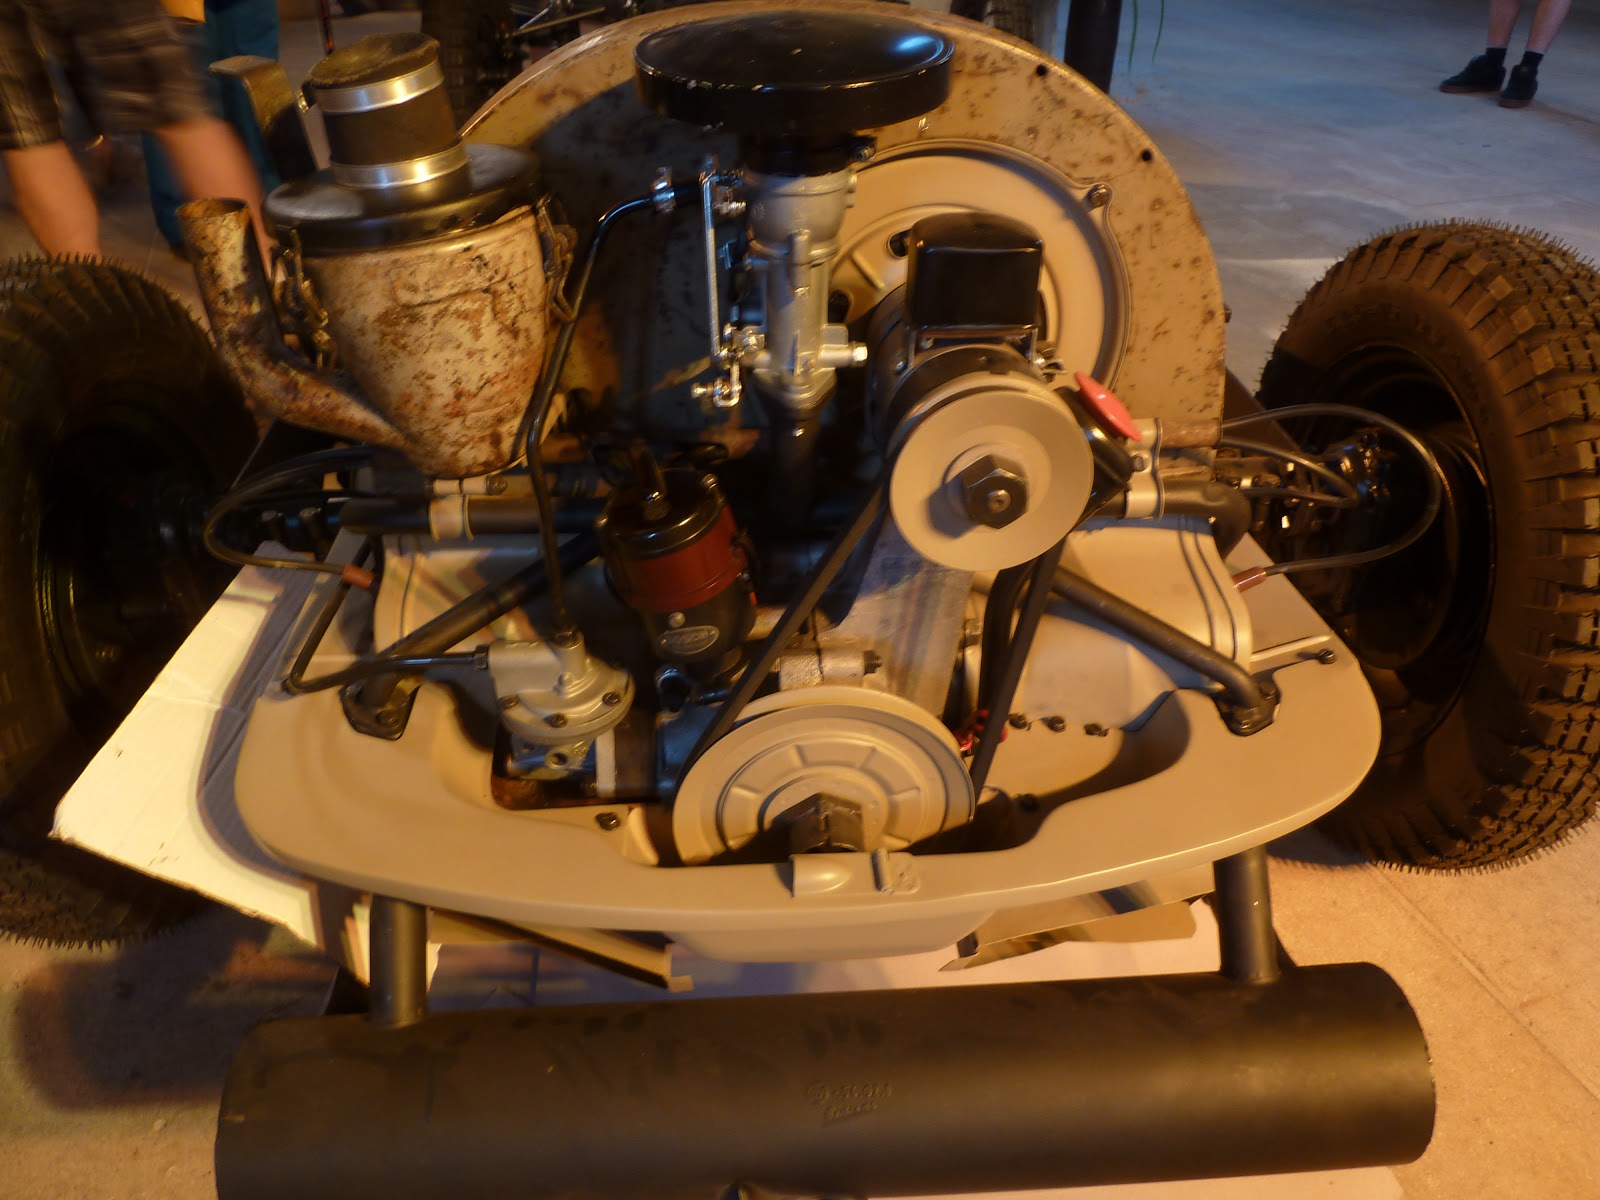
A selection of images from inside the church at HO 2017. 2 x outstanding floor pans with so many amazing early VW parts it was hard to comprehend it all. Enjoy.
1964 1500 'S' Notchback (312) & 1965 1500 'S' Karmann-Ghia (344) & 1965 1500 'N' Variant (366) Panel Van
Monday, 13 November 2017
HO 2017 - The Type 3's
My lovely wife and I flew over to Germany this year for the HO event and what follows are some of the Type 3's seen there (yes some Type 3's make it there even though....)
Odd wheels I had not seen before.
Clear lenses and the period wheels look okay on this 2 tone.
Caught up with Mike Dempster, Danny Lord and Simon Thompson while there. Clearly we have eaten too many wursts!
Neat early push button 1500 'S' notchback on some reasonable wheels. Makes a nice change from BRM's!
USA spec red flats. Not bad!
Mario's T36 Panel Van looking good. It needs sign writing all over it me thinks.
Such a clean T36.
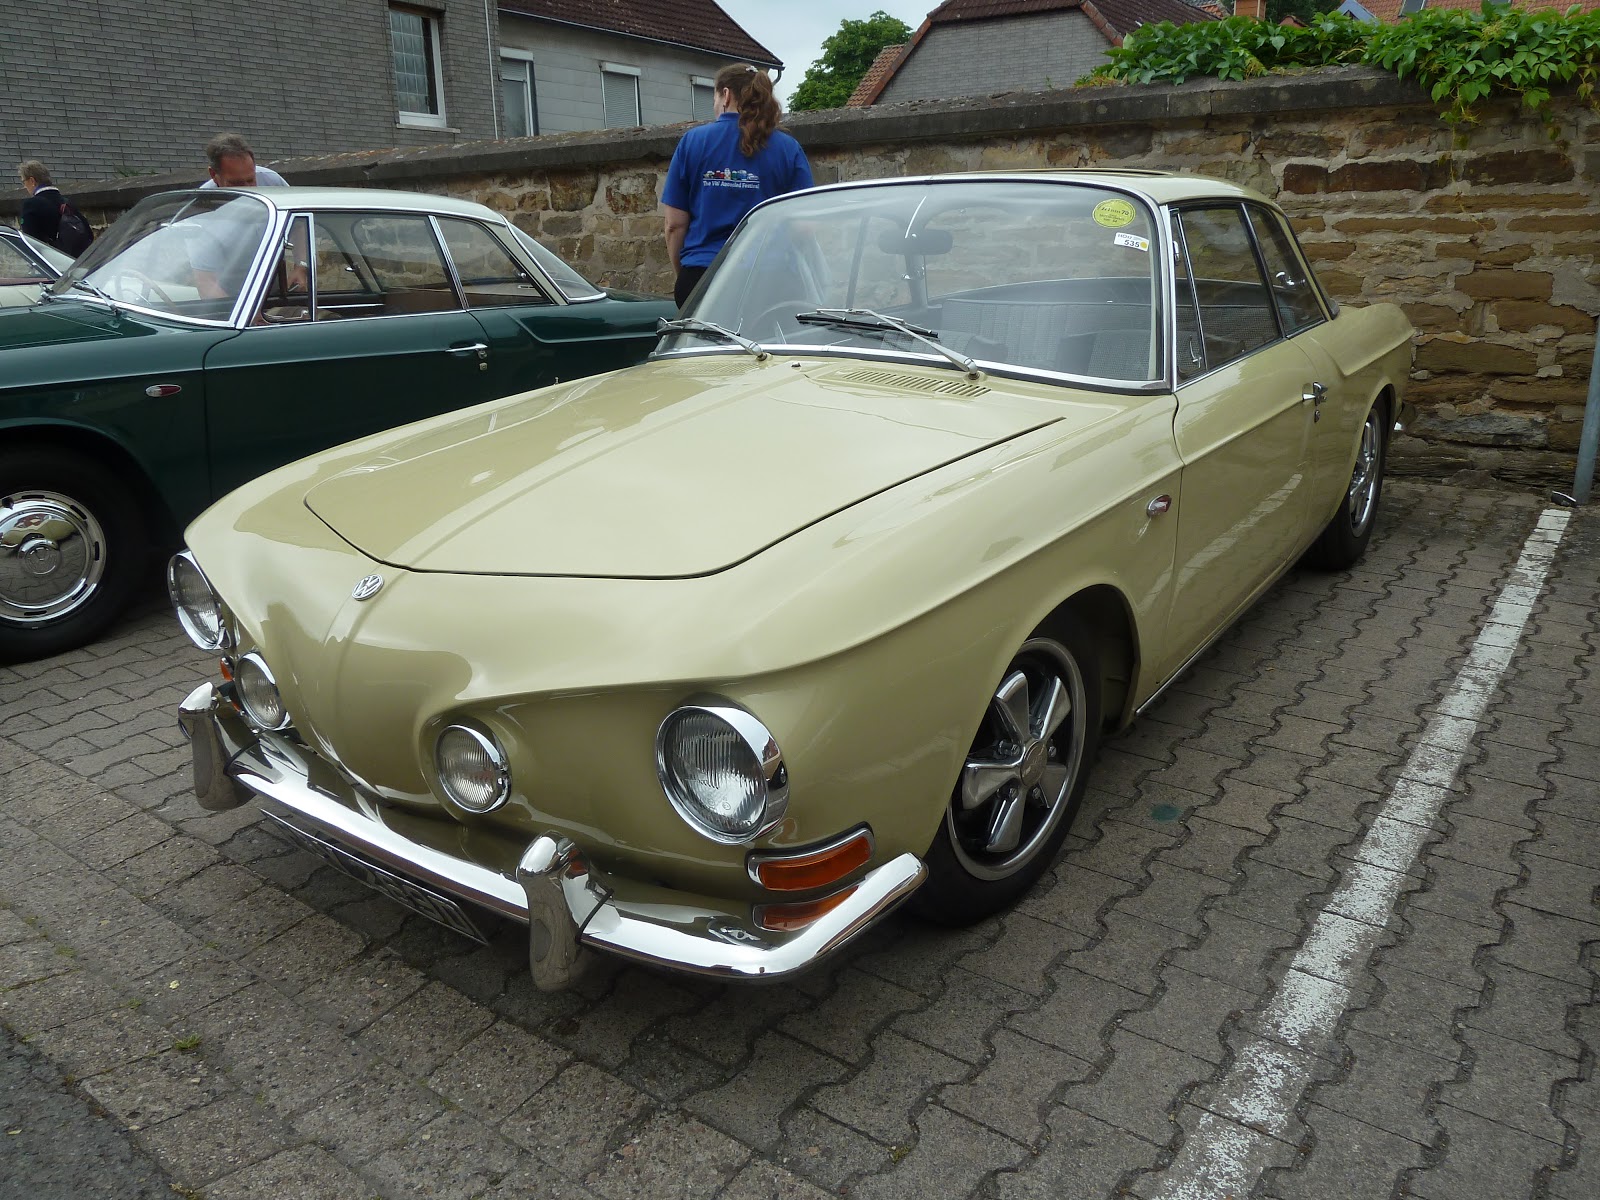
Yeah not a fan of those bloody coolers but anyway, not a bad colour combo and it is an early T31.
Very early front VW badge. Not something we see in Australia.
Correct way to do a factory 2 tone on a T31.
Front 2 tone paint on T31.
Mike Dempsters T34. I would love to have this in my garage. I don't think that will happen...
And electric sunroof too. Awesome work Mike.
Proper early T34 nose badge. Another item seldom seen.
What a combo. Me, Sime, Mark and Finn in front of a Hebmuller. Normal state of affairs in HO.
Trio of T34's
Another very decent T34 but with a venetian. Funny story about these venetians is that VW never offered them and I had a number of them made here in Adelaide back in the 1990's by the company that made T31 and T36 venetians (as well as all other VW venetians) during the 1960's and 1970's for VW Australia. So technically these T34 are correct but they were never offered when the cars were new.
Sunday, 29 October 2017
Dirty M265
Excuse the dust- it hadn't been washed in 2 or so years so I wheeled it outside and gave it a tub. Enjoy the filth.
This is the last time the car rolled on the Flat-4 BRM's. The front's were 4.25 inch (sliced and TIG welded to that size from 5.5's) and the rear were the 6.5 inch. New wheels are about to be fitted and potentially featured in some global magazines at the right moment - They look 100 times better than these Flat-4 ones I can assure you.
Filthy M265 outside it's hiding place.
Yeah. It still looks the goods. I wonder if anyone else in Adelaide will ever build a Type 3?
Saturday, 28 October 2017
The good, the bad, and the ugly of restoration
The notchback restoration is going very well. The body shell is at a workshop right now getting the last of the repairs performed (the repair sections are all welded in place now) and while they were at it, the rear apron was sliced off and my spare NOS one was installed. I hadn't planned on that but screw it, it's now perfect and reminded me of the panel van restoration performed 20 years earlier where we did the same thing- replaced the rear apron with NOS.
I also have a number of items off being sorted out for the interior. The seat bases as well as springs have all been chemically dipped and stripped and etch primed by Minus Paint. The springs are now painted black (not that anyone sees them!) and the seat bases and back rest frames are being correctly painted in the 2 x stages of grey that VW decided to do on my particular model during late 1964. It is an odd finish and once completed I will post up some images to show how odd (yet correct) it is.
The original door cards are off at Dash-Original being attended to. The lower grey ones are being re-glued with their super duper glue (original material etc being retained as it's impossible to replace) and the upper panels (front and rear) have been stripped back to the cards ready for new heat seamed vinyl to be created and glued onto them (the original white top vinyl pieces are good but not good enough so a couple of us 1500 chaps decided to strip them and use these as the masters for a number of reproductions to be made).
And of course I have a few small items under restoration at the moment such as the original horn with pieces being painted, hardware now plated and gaskets etc replaced. All simple but time consuming tasks.
Updates have been pathetic from me but I can assure you some good stuff is about to be posted (VW related). Let's just say that my black car's Flat-4 BRM's are sold and will be replaced by my own wheel design shortly.
Saturday, 27 August 2016
Mesh Grey Seats Part #1
A couple of weeks ago I was in Sydney and boozing with Boris at Vintage Vee-Dub supplies (http://www.vintageveedub.com.au/) when I remembered he had high quality reproduction mesh-grey vinyl available. So off we went to the workshop and after some head scratching, cut off 3 or 4 meters (what ever it was, it wasn't quite enough as it turns out...) and with that sorted, back to Adelaide I went with it on the airplane.
I then took my original front and rear seats off to Jeff's Trim shop where Jeff got out his machete and reduced the trim to it's basic vinyl pieces ready for me to go and sort out the next step.
Next for me was a visit to a local shop I have used in the past to recover my original rear arm rests in the notchback, Dash-Original (http://www.dashoriginal.com.au/). I handed them the original sections of mesh grey vinyl as well as the new roll of Boris supplied (TMI) mesh grey vinyl. The fine folk there said to leave it with them for a few days and the results would be epic!
So what did they do? Well, using this fabulous old Japanese machine:
Which heats up or does something magic to the aluminum strip, it creates the original style heat seamed lines in the vinyl exactly as VW did it back in 1964 (but on a much smaller scale now).
The end result was perfect and I can not thank Vintage Vee-Dub Supplies, Jeff's Trim Shop or Dash Original enough.
I will be getting the last few things in order soon before it all goes back to Jeff to sew it all up into something resembling a set of front and rear seats (the original rear has an arm rest too which is way rare here in Australia).
Subscribe to:
Posts (Atom)
-
Thought I would share some of the images I have found on various public forums' that I have been referencing for my engine build. S...
-
Welcome to 2019. Just before the new year began I found another SPG roller crank, this time it's an 82mm pinned unit with minor wear ...
-
I was fitting up the door cards and arm rest to the drivers door tonight and once that was completed (photo's soon), I stuck my head un...